Creating and Hosting a Static Website with Hugo and GitHub Pages
What is Hugo, and why?
Hugo is a static site generator written in Golang. It’s very fast, very programmer friendly and there are a tonne of themes available. Content is provided in the form of markdown which makes it really shine as a tool for making a blog. This website was created with Hugo.
Foreword
This tutorial is written with Windows in mind. Hugo is available on other platforms with Brew on macOS or your favourite Unix package manager. Most of these steps should be identical beyond that though.
Hugo Extended is used instead of the standard Hugo.
Prerequisites
Scoop
Scoop is required to get Hugo.
Scoop is a package manager for Windows. It allows you to install applications from the Command Line, akin to APT on Ubuntu or Homebrew on macOS - but with a Windows flair (bleugh).
To get Scoop, run the following in a Powershell session:
irm get.scoop.sh | iex
Note: If the above doesn’t work and you are presented with an error regarding Execution Policy, run the following:
Set-ExecutionPolicy RemoteSigned -Scope CurrentUser
GitHub account
If you don’t have one, you’ll need to sign up for one at GitHub.com. Pick your username wisely as this will be your domain name (unless you’re using a custom domain - we delve into this later).
Getting Hugo
Hugo can be found on Scoop. To install Hugo, simply run:
scoop install hugo-extended
Creating a Website
Now that Hugo is installed, we can create our first website.
Hopefully you’ve still got that Powershell session open. If not, just open a new one and run the following:
hugo new site <site-title>
Where <site-title> is the name of your flashy new website.
This command will initialise your directory structure and all that jazz.
Adding a Theme
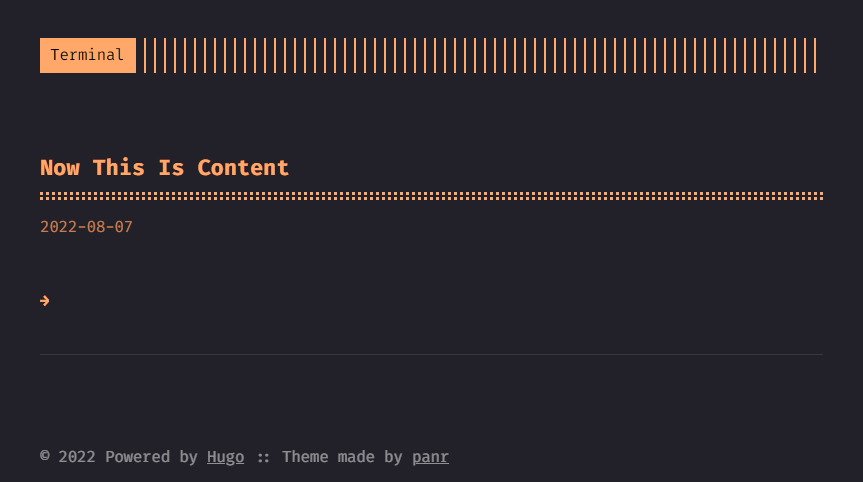
Go and pick a theme from the Hugo Themes page. For the purposes of this tutorial, I’m going with “Terminal” by panr.
Once you’ve found one you like, clone it into your themes/ directory found in the root of your website’s directory.
git clone <your-chosen-theme>.git themes/<your-chosen-theme>
To make upkeep of your website easier, add the theme as a Git Submodule so you can pull in any updates to the theme the author makes.
This is an important step as later on, GitHub Actions requires it.
To do this, cd into your Website’s directory and initialise it as a Git repository.
cd <site-title>
git init
git submodule add <your-chosen-theme>.git themes/<your-chosen-theme>
After doing this, you will need to update your website’s config.toml, which was generated when we created the website, with your chosen theme.
Your config.toml file (found in the root of your website’s directory) should look something like this:
baseURL = 'http://example.org/'
languageCode = 'en-us'
title = 'My New Hugo Site'
theme = '<your-chosen-theme>'
Creating Content
There are a few ways to create content for your website, the first is to manually create .md files in the content directory of your website, and the second is to run the hugo new <filename> command.
Let’s create our first piece of content using the second method. Run the following:
hugo new posts/now-this-is-content.md
This will create a markdown file with front matter such as the title, the time created and whether or not the post is a draft.
Draft posts are not served by Hugo which means these files can be committed without fear of accidentally serving your unfinished novella. Simply marking the draft field as false will allow Hugo to serve the file.
---
title: "Now This Is Content"
date: 2022-08-07T12:32:23+09:30
draft: true
toc: false
images:
---
Test the Site Locally
Before changing draft to false, we can spin up a local server and test out our site. To host the site and include drafts, Run:
hugo server -D
The -D is allowing us to serve drafts.
The output of this command gives us some insight into how long it took Hugo to build the site and it also gives us a localhost address where we can navigate to to see our website.
Pushing to GitHub in preparation for GitHub Pages
Nice! Now that we have a website, we should push our repository up to GitHub. This is really easy to do with the GitHub CLI tool, but I don’t use that (never needed it) so we have to do some things on GitHub.com.
- Go to GitHub.com and click on the + icon in the top right and click New repository.
- Name the repository following this pattern:
your-github-username.github.io(this is required for hosting on GitHub Pages). - Choose an appropriate visibility for your repository (I have bad news for GitHub Free folks… You have to make it public I’m afraid).
- Skip the README, gitignore and license templates and click Create Repository.
- Navigate to your newly created repository on GitHub.com and clone it.
- Once cloned, take all the files from your local website directory and paste it into the cloned repository. You can now delete our old website directory and use our cloned repository’s directory instead. (From here on when I refer to the website directory, I mean this one.)
- Now we can push our website to GitHub:
git add .
git commit -m "Add website files"
git push
Note: You may be prompted to set your repository’s upstream, if you are, just copy-paste the command it wants you to run and run it to push. You will only need to do this once.
Setting up GitHub Pages
Click the Settings tab on your GitHub repository’s page and navigate to Pages.
Under Build and deployment, for Source, select GitHub Actions and press Configure on the Hugo GitHub Actions preset that pops up.
Choose the ‘main’ branch when asked which branch the action should run on and Save the Action.
The “Deploy Hugo site to Pages” workflow should run automatically.
Navigate to <your-github-username>.github.io in your browser to see your beautiful site!
Note: Don’t forget to mark your content as draft: false in the front matter otherwise you won’t see your content served.
It’s also worth noting that both Hugo and GitHub Pages are not well-fitted for hosting dynamic content, nor large content. Media files etc. should be hosted elsewhere and referenced by link rather than directly hosted on GitHub.
Using a custom domain (Optional)
If you want to use a custom domain, head to the Pages settings and enter your custom domain name in the Custom domain section.
This will prompt GitHub to start a DNS check.
For this DNS check to pass, you will need to update the CNAME record with your domain registrar.
Select Enforce HTTPS to serve your website securely or if you’re using a secure namespace such as .dev.
Adding more content
To add further content, simply do this again and push your changes to GitHub.
Be sure to refer to your chosen theme’s documentation as every theme varies in how it can be configured.
Adding more Pages
If you want more than just a “Posts” page, you can create another subdirectory in the content folder of your website.
You would link to that subdirectory within your config.toml file using:
[[menu.main]]
name = "Different Posts"
url = "/differentposts"
weight = 1
Where name would be the title of the landing page of that post type, and the URL being the subdirectory name, relative to your content folder.
For example:
content/recipes would be refered in your [[menu.main]] as url = "/recipes".
You can have as many [[menu.main]] elements as you like and the weight parameter is the order from left-to-right or top-to-bottom the pages are displayed in.
To then add content to this new page, you would run, for example:
hugo new recipes/bangers-and-mash.md
Adding a Page that doesn’t serve the posts archetype
It’s not unreasonable to want to host a static markdown page without a landing page. To do this, do the above process of creating the subdirectory but instead of creating more posts in there, create a single markdown file titled index.md. This will override the landing page, and you can customise it to your heart’s content (heh).